Using Nginx cache on your WordPress website offers major performance and efficiency benefits.
Nginx cache significantly improves your WordPress site's speed by serving static HTML versions of pages, reducing PHP and database load. This leads to faster page load times, better user experience, improved SEO rankings, and lower server resource usage — especially important during traffic spikes.
It’s an ideal solution for high-performance WordPress hosting.
Here is how you can set it on your WordPress website, from your plan and dashboard.
1. Login to your control panel at: https://server-name.com:2222, https://domain-name.com:2222 or http://ip-adress:2222.
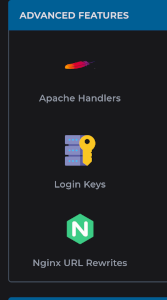
2. Go to Advanced Features and click on Nginx URL Rewrites.
3. Click on Enable and the on Add Template.
4. From the drop down filed choose Wordpress FCGI Cache and then click on Add Template.

5. Now login to your WordPress website as an admin.
6. Go to Plugins -> Add Plugin.
7. Type in the search box Nginx Helper. Install it and activate it.
8. You can find the plugin now in your left menu under Settings -> Nginx Helper.
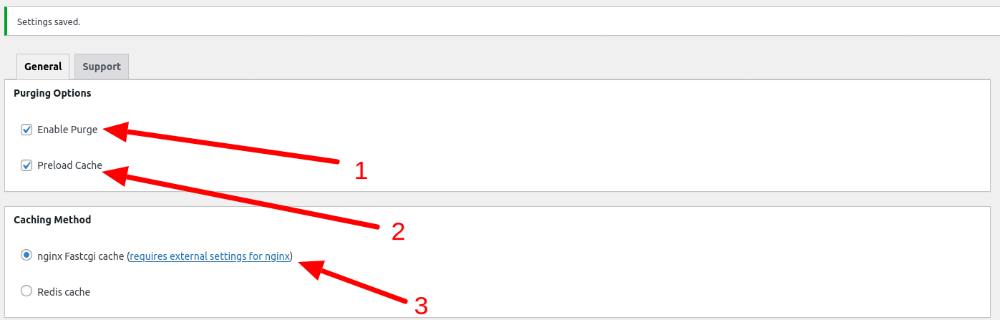
9. To finish the process you need to check this options: Enable Purge, Preload Cache and also nginx Fastcgi cache.
Now your WordPress website is using Nginx cache and it will start to perform better. It is a great solution for huge information websites and langind pages in campaigns. You can also add a Redis in needed:
Good luck!!!