cPanel’s File Manager is the portal through which you can access all your files and folders. If you’re using it for the first time, you may feel a little bit lost. But if you think of it as equivalent to your computer’s file explorer, you will find that it is just as intuitive.
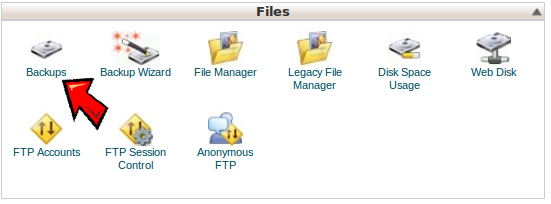
To access it, make sure you’re logged in to cPanel. Under the “Files” header, click on the “FileManager” icon. This should look like a folder with a photograph halfway inside. There is a similar-looking folder called the “Legacy File Manager” but you can ignore that one for now.
Or the new look:
Once you’ve clicked the icon, a popup box will appear, asking you which directory you’d like to open. If you have more than one domain or would like to access a different root, this is where you can switch in between them. For our purposes, just select “Web Root”. If you intend to work with configuration files or files that start with a dot, make sure that the “Show Hidden Files” checkbox is ticked. You may then click “Go.”
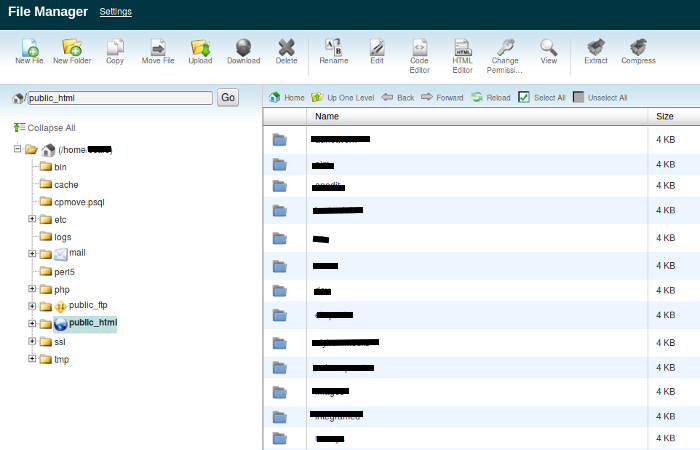
On the next page, you will find the File Manager’s user interface. At the top, you will see a series of icons that allow you to perform certain functions, including creating, copying, editing and deleting files or folders. This portion is called the Task Bar, which performs basic functions to the files you’ve selected. We’ll get back to this later.
Right below the Task Bar is a home icon, which represents your home directory, and a textbox. The textbook displays your Current Location or the directory or folder that you’re in. To the right of the Task Bar is the Navigation Toolbar.
Below that and to the left, you will find a collapsible list of folders. This is called the File Tree and shows you how your files are nested in your home directory. You can also use this portion to transfer in between folders quickly. The File Tree can easily get messy if you’ve got plenty of nested folders that are open. You can quickly organize by clicking on the minus (-) sign to collapse or close folders. This will make all the folders nested under that one disappear. If you’d like to see the nested folders, click on the plus (+) sign. You will notice that your Current Location is highlighted in the File Tree.
To the right of the File Tree, you will find the largest portion of the File Manager. This displays your Current Folder Contents. These are files that are contained within the folder you’re in (i.e. your Current Location.) To the right of the filenames, several columns will tell you each file’s size, when they were last modified, the type of file and its permissions level. Clicking on each column’s header will sort the files by that particular property. For instance, if you click on “Name” the files will sort in alphabetical order and if you click on “Size” the files will arrange themselves by their size.
From here, you may also select one file or more and click on the desired icon in the task bar to perform that function. For example, selecting file and then clicking “Edit” will allow you to change that file in the File Manager’s Code Editor. Selecting a file and clicking “Delete” will remove that file from the current folder and into the trash folder. You may also move files in between folders with the “Move” function.
In summary, the cPanel’s File Manager is a fairly intuitive interface that mirrors those of standard computer file explorers. If you find it daunting, just remember that it is just a tool that you will need to use often use frequently to get the feel of its interface and get it to perform the functions you need it to do.